April – 2026

Introduction
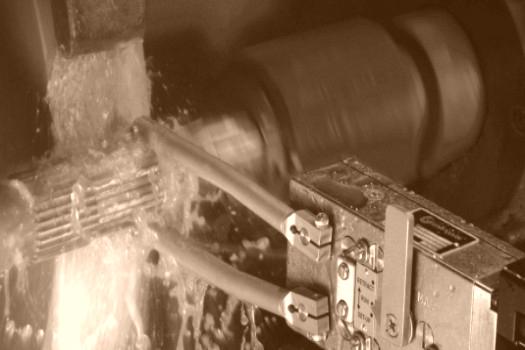
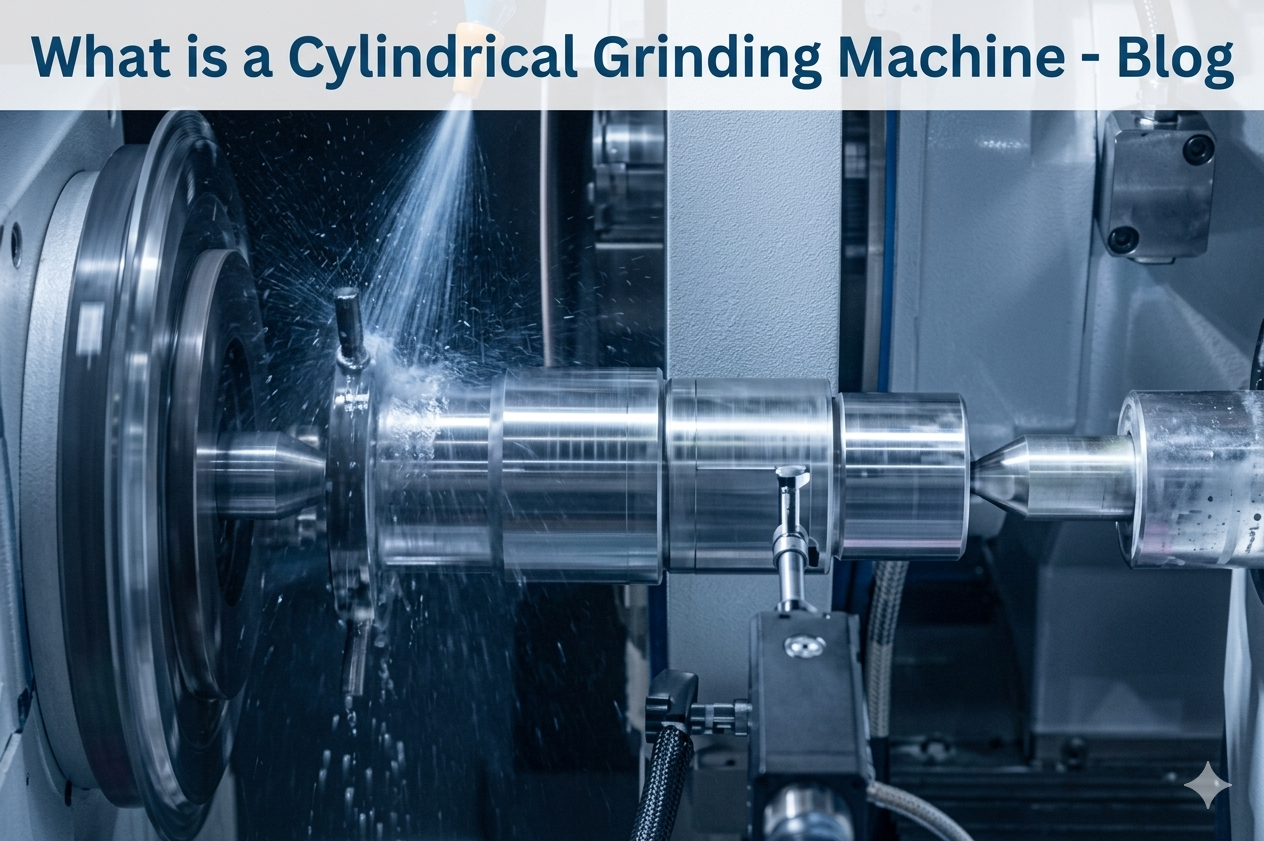
A cylindrical grinding machine is a precision engineering tool used to finish cylindrical components with high accuracy and superior surface finish. This advanced grinding equipment is widely used in industries such as automotive, aerospace, and heavy engineering where tight tolerances and consistency are essential.
What is a Cylindrical Grinding Machine?
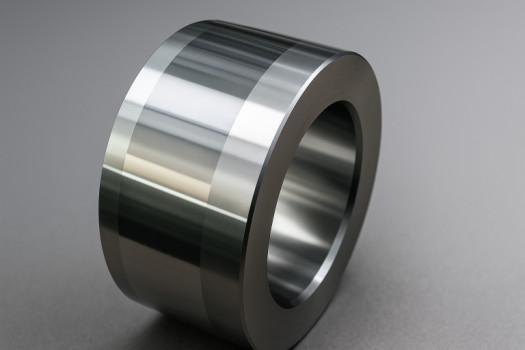
A cylindrical grinding machine is used to remove material from the outer surface of a rotating workpiece. The process involves a high-speed abrasive wheel that precisely shapes the component to achieve the required diameter and finish.
This precision grinding machine is commonly used for:
- Shafts
- Rods
- Bearings
- Precision components
Unlike conventional machining, a cylindrical grinder ensures micron-level accuracy and excellent repeatability.
How Does It Work?
The working principle of this grinding process involves:
- The workpiece rotates between centers
- The grinding wheel rotates at high speed
- Controlled feed removes material gradually
- Multiple passes ensure fine surface finish
Cylindrical grinding is a type of abrasive machining process. Learn more about Grinding (abrasive cutting) to understand the fundamentals.
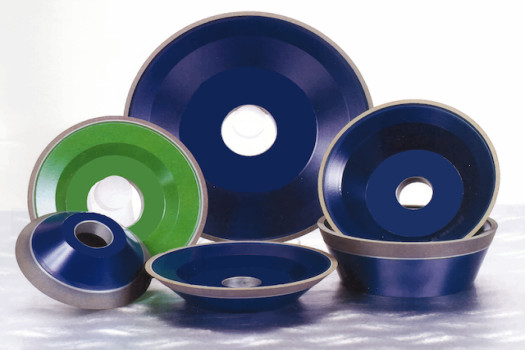
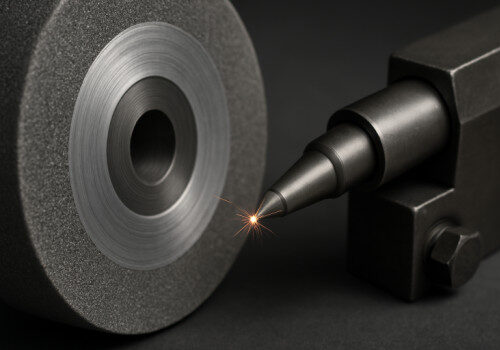
Key Components
A typical cylindrical grinding system consists of:
- Grinding wheel
- Workhead
- Tailstock
- Machine bed
- Wheel head
- Control system (Manual / NC / CNC)
Types of Cylindrical Grinding Machines
1. Hydraulic Cylindrical Grinding Machine
- Simple operation
- Cost-effective
- Ideal for small-scale industries
Explore: Hydraulic Cylindrical Grinding Machine
2. NC Grinding Machine
- Semi-automatic control
- Better repeatability
- Suitable for medium production
Explore: NC Grinding Machine
3. CNC Grinding Machine
- Fully automatic operation
- High precision and productivity
- Best for mass production
Explore: CNC Cylindrical Grinding Machine
Advantages
✔ High precision and accuracy
✔ Excellent surface finish
✔ Consistent production quality
✔ Reduced manual errors
✔ Suitable for batch and mass production
Industrial Applications
This industrial grinding equipment is widely used in:
- Automotive industry
- Aerospace sector
- Tool and die manufacturing
- Heavy engineering
- Railways
Read more: Applications of Cylindrical Grinding Machine
Availability Across Industrial Cities
We supply precision grinding machines across major manufacturing hubs such as:
Visit our city pages to explore local supply and support.
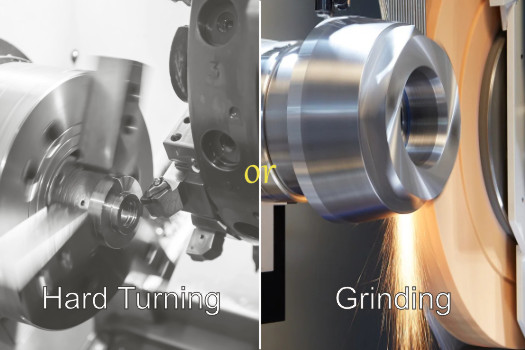
How to Choose the Right Machine
Selecting the right machine depends on:
- Production volume
- Required accuracy
- Budget
- Automation level
Also read:
- CNC vs Hydraulic vs NC Grinding Machine
- How to Choose Grinding Machine
Conclusion
A cylindrical grinding machine plays a critical role in modern manufacturing by delivering precision, consistency, and superior surface finish. Whether you choose a hydraulic, NC, or CNC model, selecting the right solution will significantly improve your production quality.
Call to Action
Looking for the best grinding solution for your application?
Contact Elitech Machine Tools today for expert guidance and customized machine recommendations.
FAQs
Q: What is a cylindrical grinding machine used for?
It is used for finishing cylindrical components like shafts and rods with high precision.
Q: Which type of grinding machine is best for production?
CNC grinding machines are ideal for high-volume and precision production.
Q: What industries use cylindrical grinders?
Automotive, aerospace, railways, and engineering industries commonly use them.